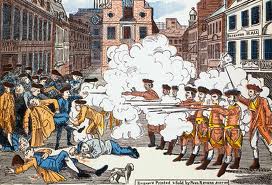
Boston Massacre
Image in Shape
- Open image in Photoshop
- Choose Save As
from the File menu and give a new name
- Unlock the background by double-clicking on the lock in the layers tab
- Select a Shape using the Cookie Cutter tool
- Draw shape and adjust size
- Click the green check mark when done
- Crop unwanted
background space
- Save As GIF

Declaration of Independence
Image In Text
- Open image in Photoshop
- Choose Save As from the File menu
and give a new name
- Unlock the background by double-clicking on the lock in the layers tab
- Use the Horizontal or Vertical Type Mask Tool text tool to type in a bold style
- Select Layer 0 - Select the Add
Layers Mask icon at the bottom of the layers tab
- Crop unwanted background space
- Save
- Copy a graphic from the Shared Advanced Class Media folder by right clicking on the graphic and selecting Copy > Save into a folder on your home drive.
- Open Photoshop > File > Open, or open the photo by Right Clicking on the image file in your home drive > select Open With > Adobe Photoshop CC
- Choose Save As from the file menu. Give it a different name and save in your home drive.
- Select the Spot Healing Brush Tool and set to a small size.
- Brush away the portion that you want to remove.
- Or, Use the Lasso tool to select the item in the image you want to remove. Include some overlap into the surrounding area.
- Choose Edit > Content-Aware Fill. The Content-Aware workspace opens with a default fill applied.
- Save
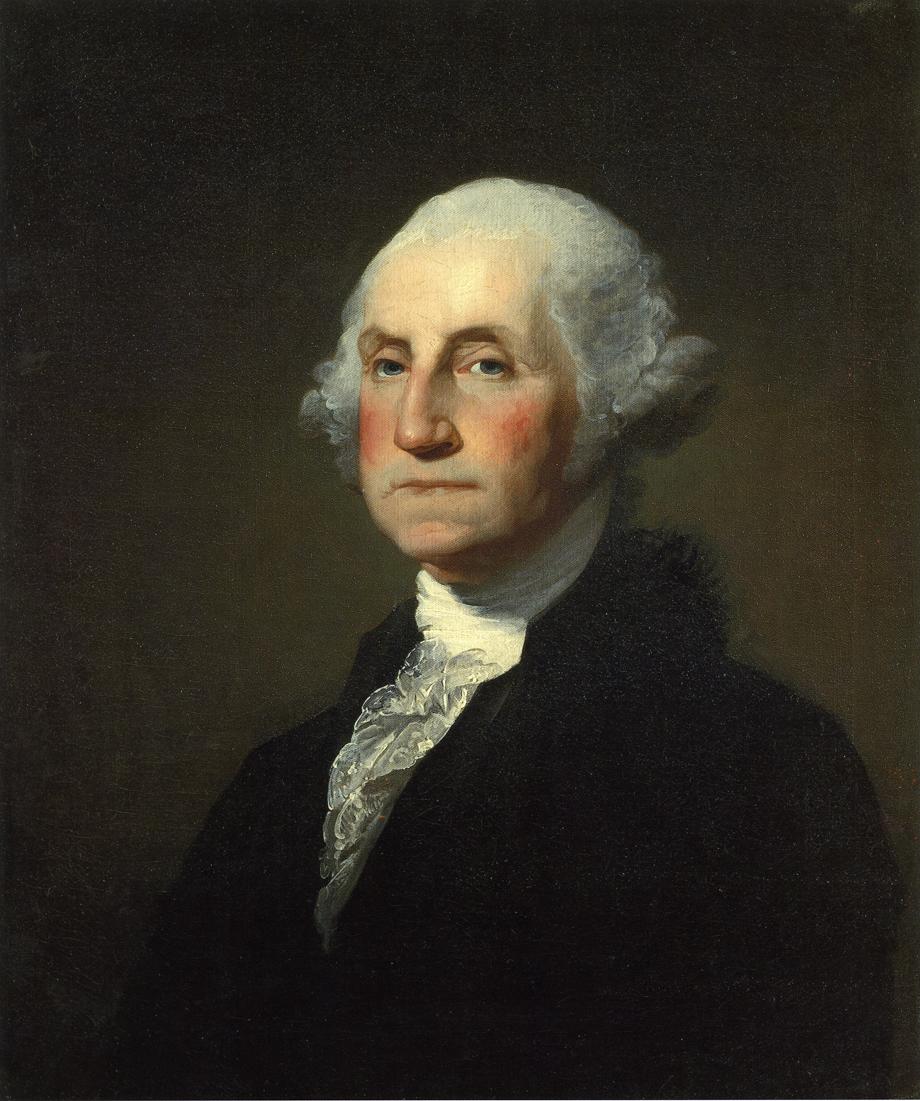
George Washington
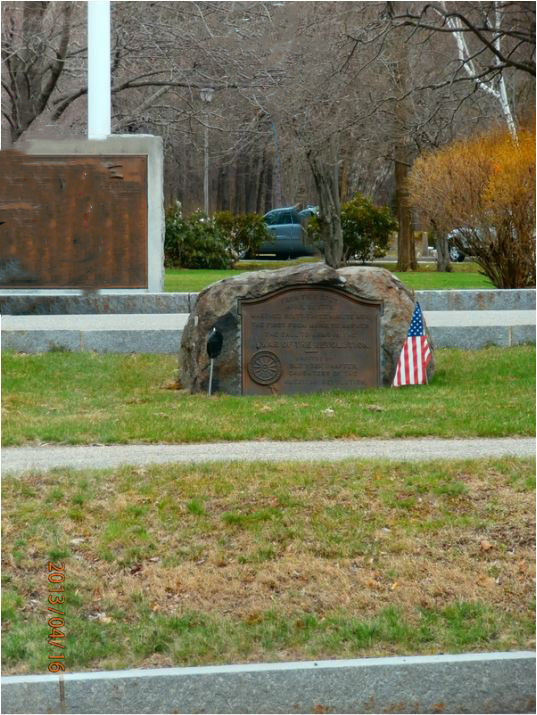
Cut Out Background
- Open image in Photoshop
- Choose Save As
from the File menu and give a new name
- Double-click background layer to change to Layer 0
- Select the Eraser tool - adjust size and begin to erase the background
- Save As GIF

Gradient Text
- Open a new file - File > New > Blank file >
select default size and Transparent background
- Select the Vertical or Horizontal Type Mask Tool to enter horizontal text
- Enter the type you want,
- Select the Gradient tool.
- In the options bar, click the desired gradient type (linear, radial, angular, reflected, or diamond).
- Choose a gradient fill from the Gradient Picker pop-up palette.
- Position the pointer on the text where you want to set the starting point of the gradient, and drag to define the ending point.
- Save As GIF

White House in the 1800's
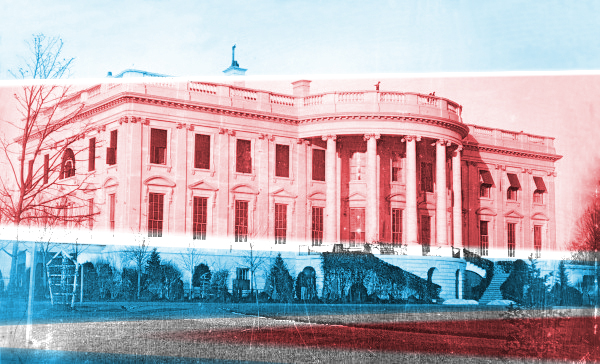
Gradient Fill
- Open image in Photoshop
- Choose Save As from the File menu and give a new name
- Unlock the background by double-clicking on the lock in the layers tab
- Create a new layer
- Select the gradient tool and choose a gradient to use
- Draw where you want the gradient to be on the graphic
- On the layers tab, select Overlay from the pull-down menu
- Use the Opacity slider to adjust the amount of color
- Save As JPEG

Glowing
- Open a new file - File > New > Blank file > select default size and Transparent background
- Enter text using a large font size
- Go to the Layers menu and choose Flatten Image
- From the Filters menu, choose Artistic > Neon Glow - adjust size, brightness and color
- click OK
- Crop image to desired size
- Save As JPEG
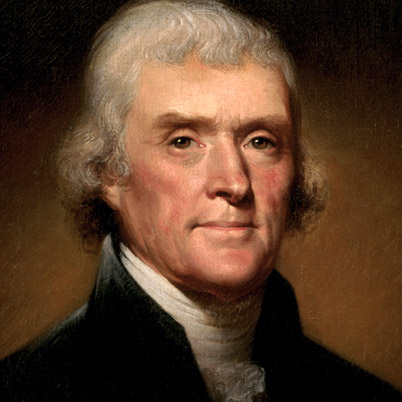
Thomas Jefferson
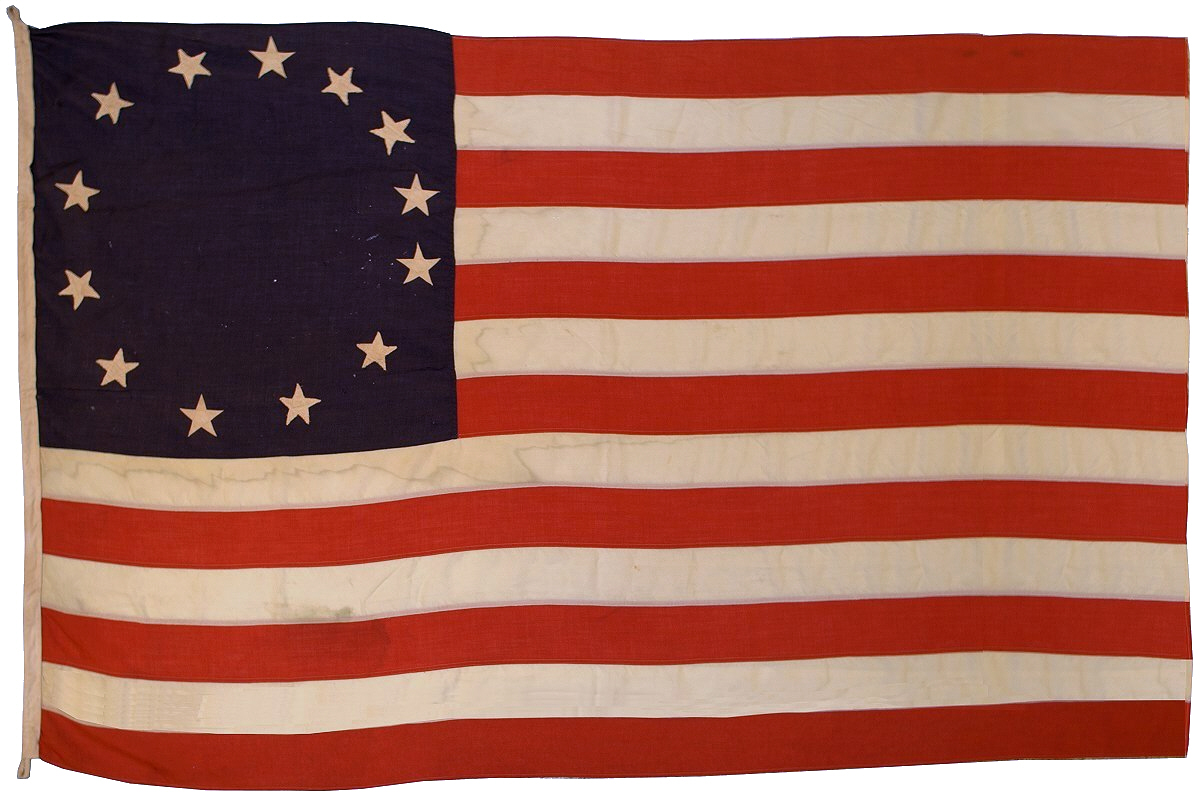
Original US Flag
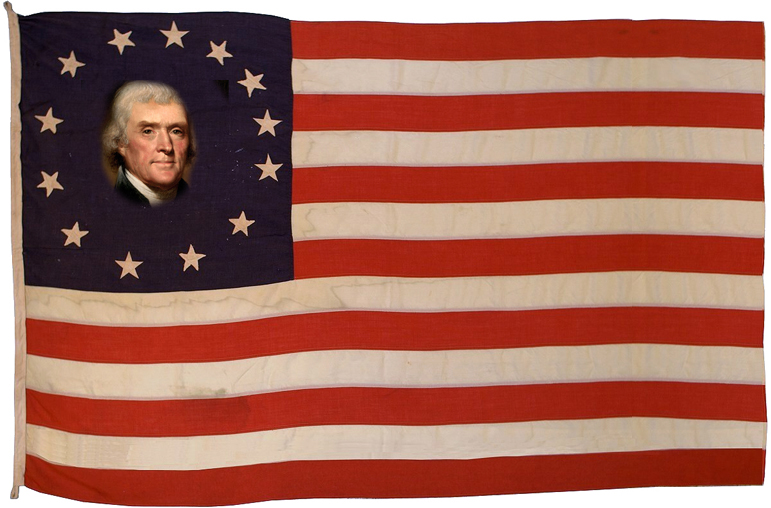
Merging Images
- Open a new blank file
- Open two images that you want to merge
- Drag the images onto the new file
- Adjust image size and placement
- Select the Eraser tool - choose one with soft edges - adjust opacity as needed
- Erase the portion that you want removed in order to merge both images into one image
- From the Layers menu, choose Flatten Image
- Crop as needed
- Save As JPEG
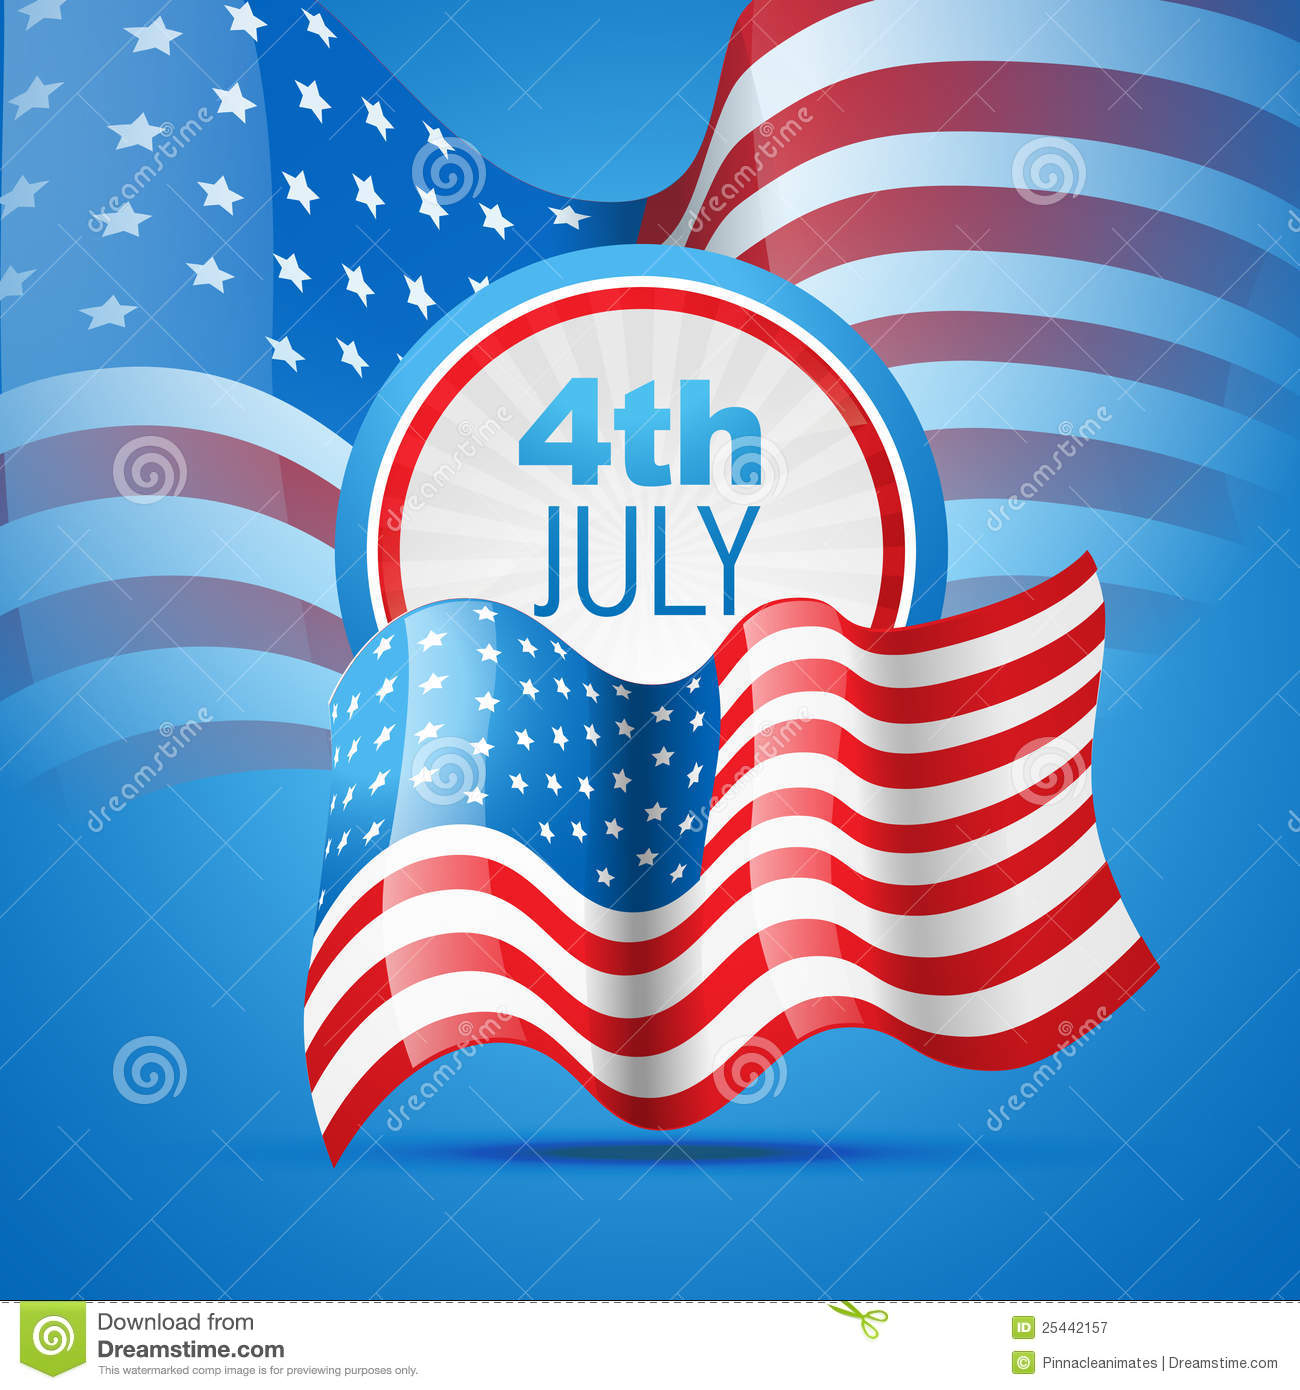
July 4th poster
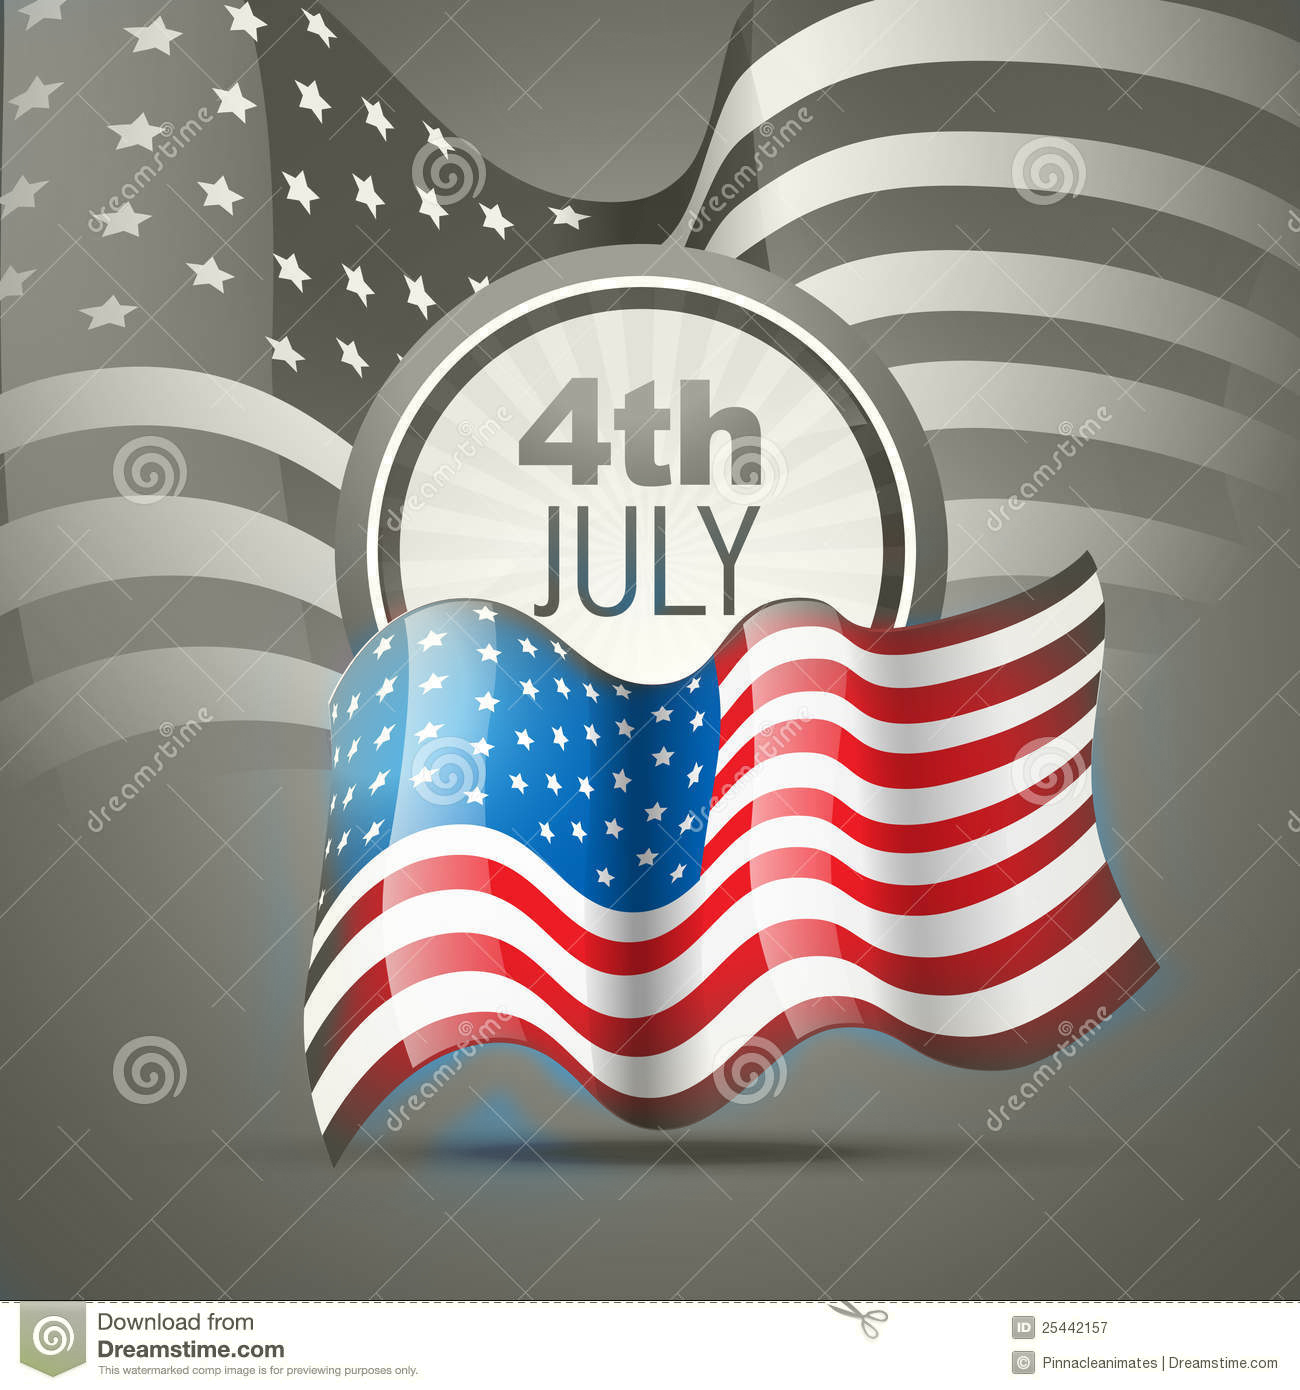
Paint Away
- Open image in Photoshop
- Choose Save As from the File menu and give a new name
- Unlock image if needed
- Select the Brush tool and change the Mode to Color
- Choose a soft edged medium sized brush
- Change paint color to gray
- Start painting gray over the portion from which you want to remove the color
- Adjust the size of the brush as needed
- This will leave a portion of the image in Grayscale, while leaving the rest in full color
- Save As JPEG
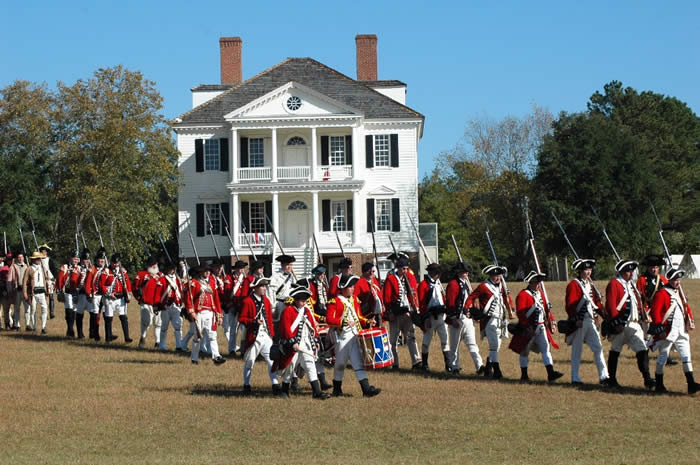
Boston Massacre
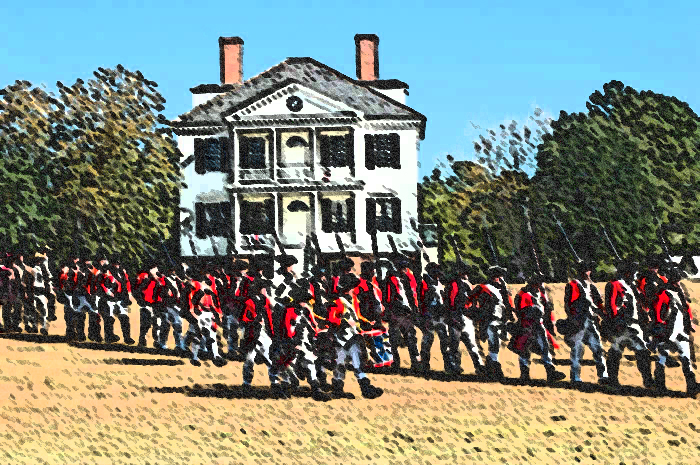
Sketches - Poster Edges, Smudge Stick, Film Grain
- Open image in Photoshop
- Choose Save As from the File menu and give a new name
- Unlock if needed
- Go to the Filters > Filter Gallery - use the Poster Edges, Smudge Stick, Watercolor, Sketch and /or other Filters to change the photograph into a sketch image
- Save AS JPEG